On Wednesday, I met up with my friend Kelly to try our hand at making pierogies. Dough, filling, technique and patience are needed to make them.
Kelly made two potato based fillings for us to try. One was potato and caramelized onion and the other was potato and cream cheese. We quickly learned that 10 pounds of potatoes made into filling is way too much for your average night of pierogi making.
We tried 3 different dough recipes. The first 2 I made early in the day and let rest in the fridge.
Dough #1
- @ 2 cups local spelt flour
- 1/2 teaspoon fine kosher salt
- 1 local egg, lightly beaten
- 1/2 cup sour cream
- 1/4 cup local butter, chopped into pieces and softened
Mix flour and salt. Add beaten egg. Add sour cream and butter. Work dough until it’s not sticky. I basically kneaded it on a floured surface. I added more flour as needed. It took about 5 minutes. I wrapped the dough in plastic wrap and refrigerated it for a few hours. This recipe is supposed to make about a dozen. I think we got a few more than that out of the recipe.
Dough #2
- @ 3 1/2 cups local spelt flour
- 2 local eggs
- 5 tablespoons local plain yogurt
- @ 1/2 cup water
Combine until dough forms, adding more water if necessary. Knead on floured surface to stretch the dough. Refrigerate for at least 20 minutes.
Dough #3 was Martha Stewart’s recipe. We made this one after working with the first two doughs. We substituted spelt flour and used vanilla yogurt instead of sour cream. We put it in the fridge for 20 minutes before using. In hind sight, we should have made this dough and then worked with the other doughs while it rested.
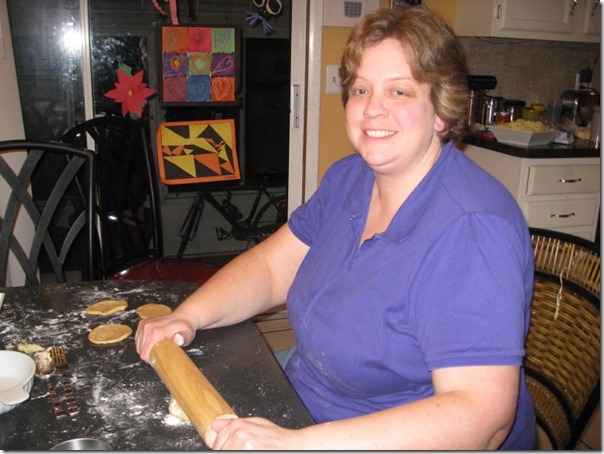
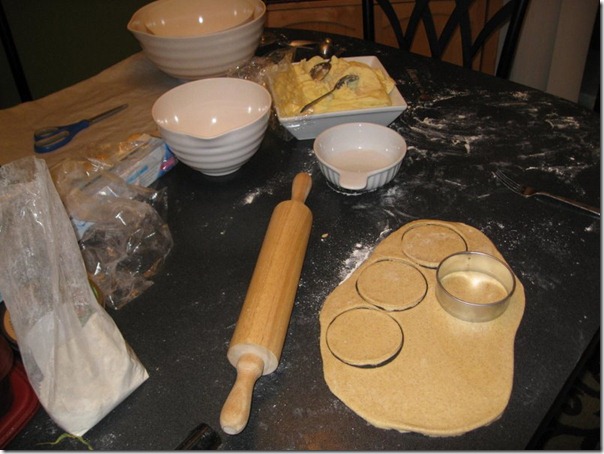
We tried using a pasta maker to roll the dough. We decided that it was going to take way too long. So, we got out a rolling pin. We rolled the dough and used a 3 1/2 inch biscuit cutter to make the circles. We were going to try an empanada press, but decided that it looked too big.
We took turns rolling, cutting, filling, and crimping shut with a fork (with a bit of water on the seal).
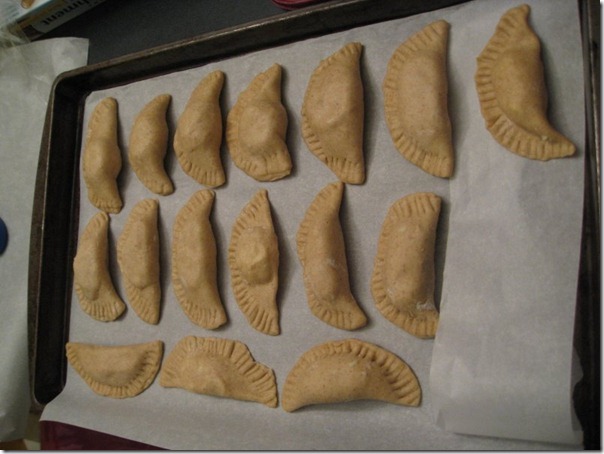
It was hard to roll the dough to a consistent thickness. They don’t take near as much filling as you would think. Some looked better than others when they were done.
We lined them up on parchment paper and started them freezing.
Pierogies are typically boiled until they float and then finished off in a pan with butter and onions. Many serve them with sour cream.
We had pierogies for dinner tonight. I tried a cream cheese / potato stuffed one made from dough #1. It was delicious. For our actual dinner, everyone had onion / potato stuffed dough #2. I definitely did not care for this dough. It seems too thick and tough. Stephen said that the dish was good, but it wasn’t the type of dough that he would expect in a pierogie. Nick thought the dough was great. Sally ate 3 of them, so she liked them too. I think both fillings could use a little more flavor. Next time, I think some added herbs are in order. I still haven’t tried the 3rd dough yet, but plan to try it over the weekend. I still have a couple of other recipes for dough to try out over the next few weeks as well.
Ideally, I’ll find a recipe that is spelt or wheat based and uses yogurt or milk instead of sour cream. I’ll also need to work on my technique for consistency. I think the possibilities are endless and this could become a nice item to make out of real ingredients and have ready in the freezer for busy nights.


I thought the filling was very “blah”. Oh well, now that we’ve (kind of) got our technique down, we’ll do better next time:)
Great post and thanks for helping my bean make pasta. He is still talking about the secret recipe dinner he made for Mike’s dinner:)